
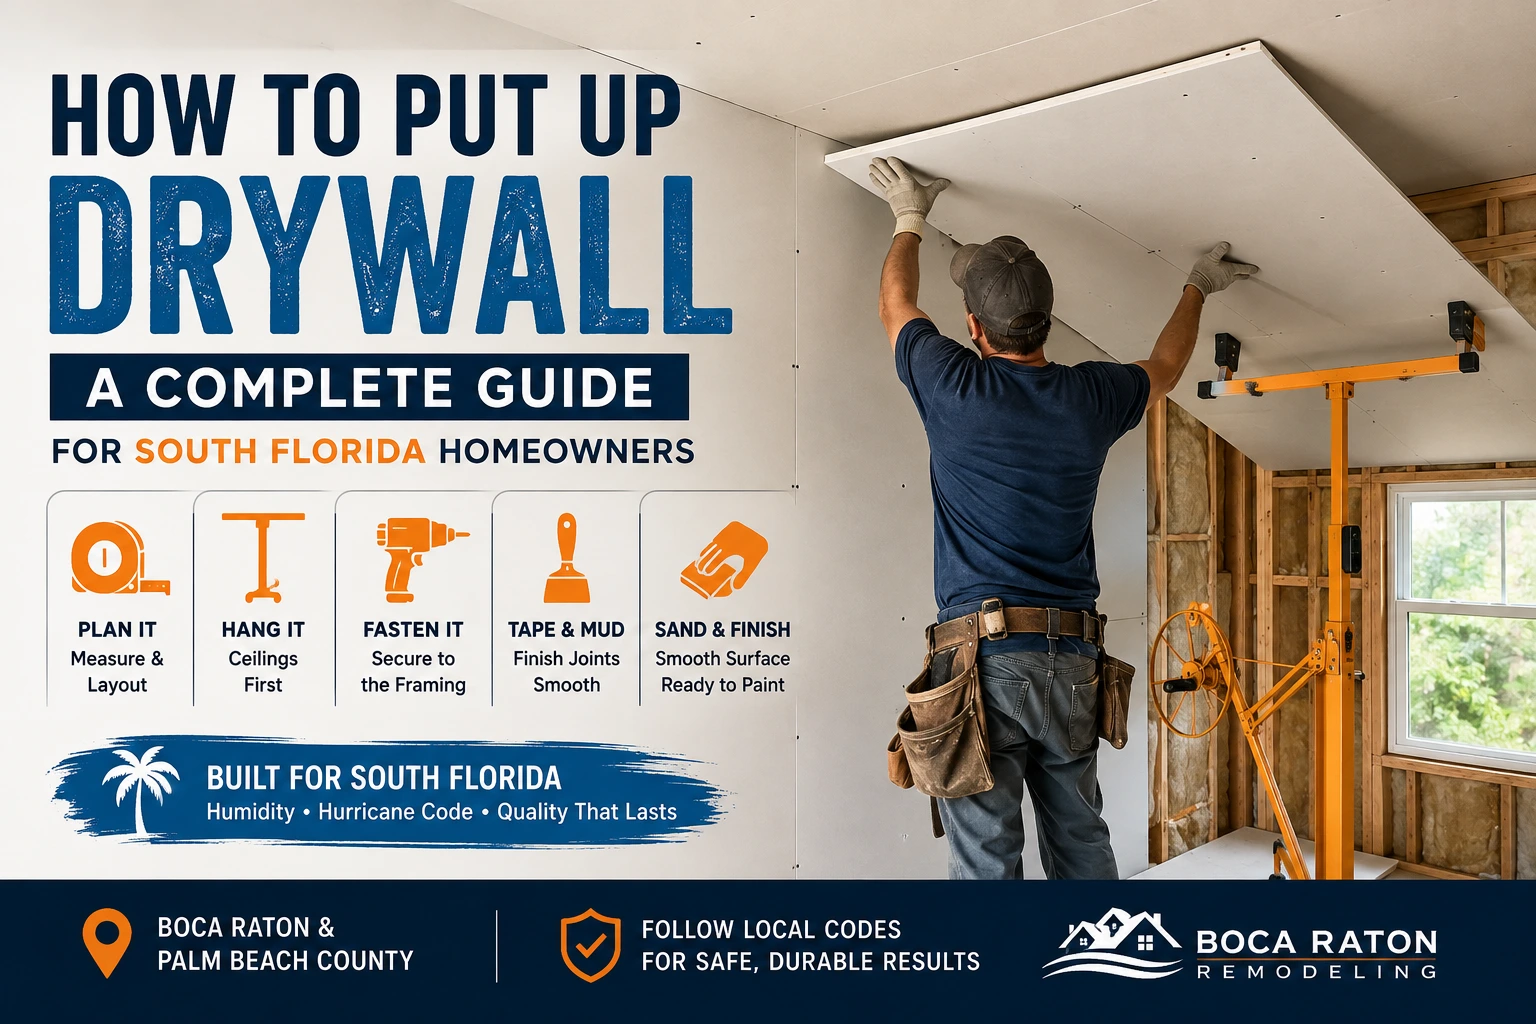
You’ve got a stack of drywall sheets leaning against your garage wall, a rented screw gun on the counter, and a Saturday cleared off. Before you lift that first panel, here’s the honest truth: hanging drywall isn’t hard to understand, but it’s easy to get wrong in ways that don’t show up until the mud is already on the wall. A seam that lands between studs. A screw driven too deep. A cut that’s a quarter inch short. None of these ruin your day immediately — they ruin it three steps later, when you’re staring at a crack or a bulge you can’t easily fix.
This guide walks through the entire hanging process the right way, from measuring the room to setting the last screw, with a few notes specific to building in South Florida’s humidity and hurricane-code environment. If you get through this and decide the job’s bigger than a weekend project, that’s a completely normal conclusion — and it’s exactly the kind of work our Boca Raton remodeling crew handles every week.
What You’ll Need Before You Start
Drywall work rewards preparation. Running out mid-panel to find a tool or grab another box of screws is the single most common way a one-day job turns into a three-day job.
Tools:
- Drywall T-square (4-foot)
- Utility knife with plenty of spare blades
- Drywall saw or jab saw, plus a rotary cut-out tool for electrical boxes
- Screw gun or a drill with a drywall screw setting/dimpler bit
- Tape measure and a stud finder
- Drywall lift (for ceilings — worth renting; more on this below)
- 4-6 foot level
- Chalk line
- Utility gloves, safety glasses, and an N95-style dust mask
Materials:
- Drywall sheets: 1/2-inch for walls, 5/8-inch for ceilings (the extra thickness resists sagging between joists)
- Drywall screws (coarse-thread for wood framing, fine-thread for metal studs)
- Metal corner bead for outside corners
- Joint tape (mesh or paper) and joint compound
- Nail/screw protector plates for any stud edge within 1-1/4 inch of a utility line
One South Florida-specific note:For bathrooms, laundry rooms, and other areas exposed to moisture, choose the appropriate moisture-resistant drywall or approved tile backer board based on the location and finish. Standard drywall should not be used where it will be directly exposed to water or persistent moisture. Always follow the board manufacturer’s installation requirements and applicable local building codes. Between AC condensation and our humidity levels, standard paper-faced drywall in a wet area is asking for mold down the line.
Measure the Room and Plan Your Layout
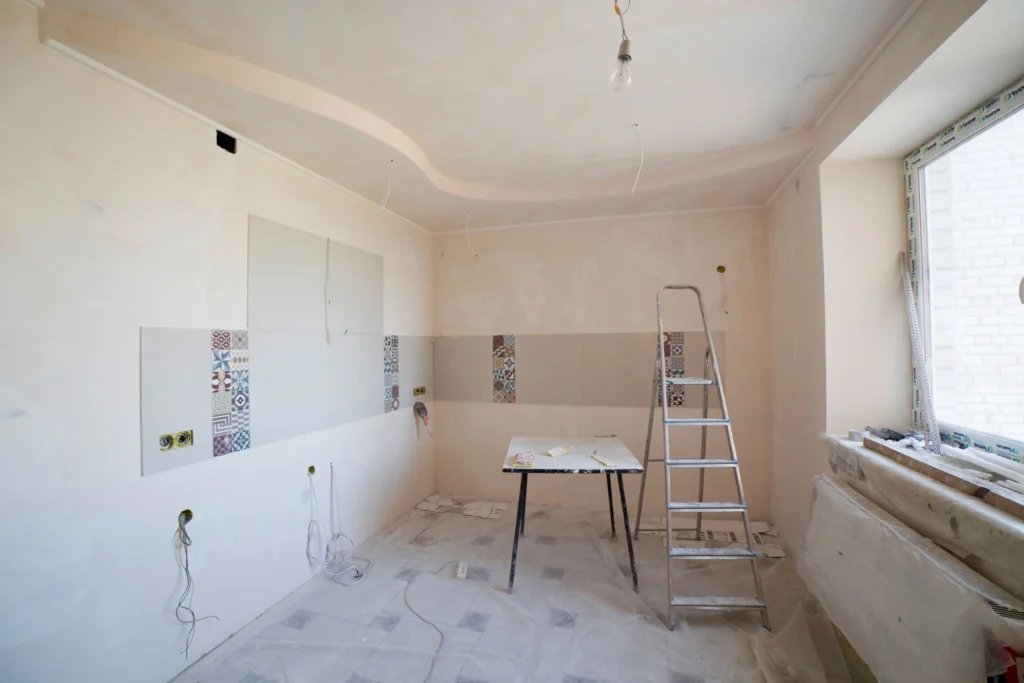
Before any sheet goes up, measure every wall and the ceiling, and sketch a rough layout showing where each panel will land. Standard sheets run 4×8, 4×10, or 4×12 feet. Buying the longest sheet that reasonably fits a wall reduces the number of seams — and seams are where almost every finishing problem originates.
Two layout rules that save you real time later:
- Hang ceilings first, then walls. The wall panels help support the ceiling panels’ edges and hide the ceiling-to-wall seam.
- Stagger your seams. Never let four sheet corners meet at a single point — that intersection is the weakest, crack-prone spot in any drywall job.
Mark every stud location on the floor and ceiling with a chalk line before you start. Once the drywall’s up, you’re driving screws blind into framing you can no longer see.
How Do You Hang Drywall on a Ceiling?
Start with the ceiling, because gravity makes it the hardest part of the job — get it out of the way while your energy and patience are both still high.
This is genuinely a two-person task, or a one-person-plus-drywall-lift task. Trying to hold a 50-plus-pound sheet overhead while also driving screws is how backs get hurt and sheets get cracked. A drywall lift rents for around $40-60 a day at most hardware stores and pays for itself the first time you don’t have to muscle a full sheet into place solo.
- Position the first sheet so its long edge runs perpendicular to the ceiling joists, and its end lands on the center of a joist (not between two).
- Fasten the ceiling panel to the framing using the screw type and spacing specified for the drywall system, framing, and applicable code requirements. Keep the screws properly seated so the heads sit slightly below the surface without breaking through the paper facing.
- Keep screw heads dimpled slightly below the paper surface — not through it. A screw driven too deep tears the paper face and loses its grip entirely, which means it has to be backed out and replaced with a new screw an inch or two away.
- Continue across the ceiling, staggering the short-end seams from row to row.
How Do You Hang Drywall on Walls?
Walls are more forgiving than ceilings, but the same core rules apply: work top to bottom, stagger seams, and land every screw on framing.
- Start at a corner and work outward. Hang the top row of panels first, running horizontally if the wall is longer than 8 feet —For many residential walls, installing panels horizontally can reduce the number of long vertical joints and place some seams at a more convenient height for finishing. However, the best orientation depends on the wall dimensions, framing layout, sheet size, and manufacturer’s recommendations.
- Leave a small gap. Cut panels about a quarter inch short of the floor and ceiling lines. Drywall that’s wedged too tight against the slab can wick moisture and will buckle if the house settles even slightly.
- Fasten wall panels to the framing according to the drywall manufacturer’s instructions and applicable building-code requirements. Screw spacing can vary depending on the board type, framing, panel orientation, and whether the installation is on a wall or ceiling, so don’t assume one spacing pattern applies to every project.
- Snap the sheet, don’t force it. For straight cuts, score the front paper with a utility knife along a T-square line, then snap the sheet back away from the cut — it’ll break clean along the score. Finish by slicing through the paper on the back side.
Cutting Around Outlets, Switches, and Fixtures
This is where most first-time hangers lose patience. The method that actually works:
- Measure from the nearest stud edge to both sides of the electrical box, and from the floor (or ceiling) to the box’s top and bottom edges.
- Transfer those four measurements onto the drywall sheet and connect them into a rectangle.
- Hang the sheet over the opening as planned, then cut the box outline from the front face using a rotary cut-out tool — you’ll feel it drop into the recessed box, which tells you exactly where the edge is.
Don’t try to pre-cut the opening before hanging the sheet. Even a slight measuring error means the sheet won’t sit flush, and you’ll be patching a gap instead of enjoying a clean cutout.
Screws vs. Nails: Which Should You Use?
| Drywall Screws | Drywall Nails | |
| Holding power | Strong — threads grip the stud | Weaker over time; prone to “popping” |
| Speed | Faster with a screw gun | Slower, more physically taxing |
| Callback risk | Low | Higher (nail pops are a common warranty complaint) |
| Best use | Primary fastener for the whole job | Temporary tacking only, before screwing off the sheet |
For any job meant to last, screws are the standard. Nails still show up in some framing crews’ temporary tack-up process, but the finished, permanent fastening should be screws.
Taping and the First Coat: Where Hanging Ends and Finishing Begins
Hanging and finishing are two different skill sets, but they’re related enough that it’s worth understanding the handoff:
- Cover vertical (butt) joints first with mesh or paper tape, pressed firmly into a thin bed of joint compound with a 6-inch knife.
- Tape horizontal seams next, then inside corners, then outside corners over the metal corner bead.
- Apply a thin first coat over the taped seams, feathering the edges outward so there’s no visible ridge once it dries.
- Let it dry fully (usually 24 hours, longer in high humidity — check your dehumidifier or AC is running) before the second coat.
Two more coats typically follow, each wider than the last, sanded smooth between coats. That’s a separate guide in itself — but knowing it’s coming should influence how carefully you hang the sheets in the first place. A clean hang with tight, stud-backed seams means less mudding, less sanding, and a wall that stays crack-free longer.
Common Mistakes That Show Up Later
- Seams that don’t land on a stud. Every drywall joint needs adequate support so the edges remain secure and stable. Depending on the framing and installation method, support can come from studs, joists, drywall backing, or approved backing clips. Plan your layout before installation so joints are properly supported and less likely to move or crack.
- Screws driven too deep. This “blows out” the paper face and the screw no longer holds — always back it out and re-drive an inch away rather than trying to fix it in place.
- Skipping the gap at the floor. Tight-to-the-slab drywall in Florida’s humidity is a recipe for wicking moisture and swelling.
- Standard drywall in wet areas. Bathrooms, laundry rooms, and any wall near a water heater or AC handler should get moisture-resistant board.
- Four corners meeting at one point. Stagger your layout so this never happens — it’s the most crack-prone spot in any wall or ceiling.
- Working alone on ceilings without a lift. Beyond the injury risk, an unsupported sheet sags and cracks before the first screw is even in.
Do You Need a Permit to Hang Drywall in Boca Raton?
In most cases, replacing or patching existing drywall doesn’t require a permit. But if the work is part of a larger renovation — moving walls, adding a room, or anything touching electrical and plumbing that the drywall will cover — Palm Beach County and the City of Boca Raton will typically require a permit before the walls get closed up. Inspectors need to see the framing, wiring, and plumbing before drywall covers it, so pulling the permit after the fact means opening the wall back up. If there’s any question about scope, it’s worth a quick call to the local building department before the first sheet goes up.
FAQ: Hanging Drywall
How much does it cost to hang drywall yourself vs. hire a pro?
DIY costs are mainly materials — sheets, screws, tape, and compound — plus tool rental if you don’t own a lift and screw gun. Hiring it out adds labor, but also adds speed, a finished (mudded and sanded) result, and no learning curve on your walls. For a full room, many homeowners find the time saved is worth more than the labor cost, especially on ceilings.
What size drywall should I use for a ceiling?
Drywall thickness depends on the application, framing, local code requirements, and manufacturer specifications. 1/2-inch board is commonly used for residential walls, while 5/8-inch board is often used for ceilings because its greater thickness provides better resistance to sagging. Always confirm the required thickness for your specific project before purchasing materials.
Can I hang drywall by myself?
Walls, yes — with patience. Ceilings are much safer and faster with a second person or a rented drywall lift; holding a full sheet overhead solo is where most injuries and cracked panels happen.
Do I need special drywall for a bathroom in Florida?
Yes. Moisture-resistant “green board” or cement board is worth the extra cost in any bathroom, laundry room, or space with high humidity exposure — standard paper-faced drywall is more susceptible to mold in South Florida’s climate.
How long does it take for joint compound to dry before painting?
Drying time depends on the type of compound, coat thickness, temperature, humidity, and ventilation. Many conventional compounds can take around 24 hours or longer between coats, and South Florida’s humidity can extend the drying time. Follow the product manufacturer’s instructions and make sure the compound is completely dry before sanding, priming, or painting.
Why do my drywall seams keep cracking?
Drywall seams can crack for several reasons, including insufficient joint support, movement in the framing, improper fastening, inadequate taping or finishing, or applying compound before the previous coat has properly dried. If cracks repeatedly return in the same location, it’s worth identifying and addressing the underlying movement or installation issue rather than simply covering the crack with more compound.
What’s the difference between mesh tape and paper tape?
Paper tape is embedded in joint compound and is widely used for drywall joints and inside corners. Fiberglass mesh tape is self-adhesive and can be easier to position, but it has different installation requirements and is not suitable for every joint or finishing system. Choose the tape recommended by the compound manufacturer and for the specific type of joint you’re finishing.
When It’s Time to Call In a Pro
Hanging drywall is a genuinely learnable DIY skill, and a single room is a reasonable weekend project for someone comfortable with basic tools. Where it gets harder to justify going it alone: whole-house jobs, vaulted or complex ceilings, anything tied to a permitted renovation, or a timeline where the room needs to be back in use fast.
If that’s where you’ve landed, our team at Boca Raton Remodeling handles drywall hanging and finishing as part of full remodels across Boca Raton and the surrounding Palm Beach County area — from a single patched wall to a full gut renovation. Reach out at (561) 896-9392 for a quote, or take a look at our other renovation guides while you’re planning your project.
What part of your project has you most unsure — the ceiling, the cutouts, or the finishing? Drop a comment or give us a call, and we’re glad to walk through it with you.